![froxy-logo.svg]](https://help.froxy.com/hubfs/froxy-logo.svg)
Dolphin{anty} is an antidetect browser designed for creating and managing multiple profiles, each with unique digital fingerprints and settings. By connecting Froxy proxies to Dolphin{anty}, you can assign a proxy to each profile, manage various online sessions, and work with multiple IP addresses within a single interface. This guide will help you add Froxy proxies, configure a profile, and get started in Dolphin{anty}.
To set up Froxy proxies for use with Dolphin{anty}, follow these steps:
- Before you begin, ensure you have the latest version of Dolphin{anty} installed. Download the current version from their website.
- Open the Dolphin{anty} application. Select the Proxies section → click ADD PROXY.
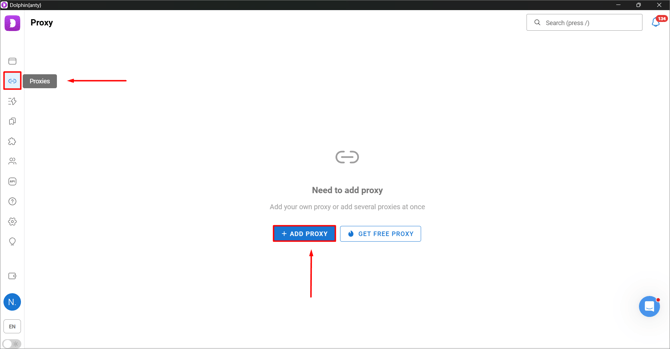
- Copy the Proxy URL from your subscription settings in the Froxy dashboard.
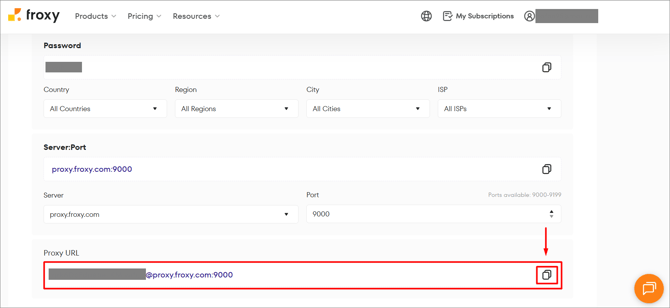
- Paste the value into the quick input field → all necessary fields will fill in automatically → click ADD PROXY.
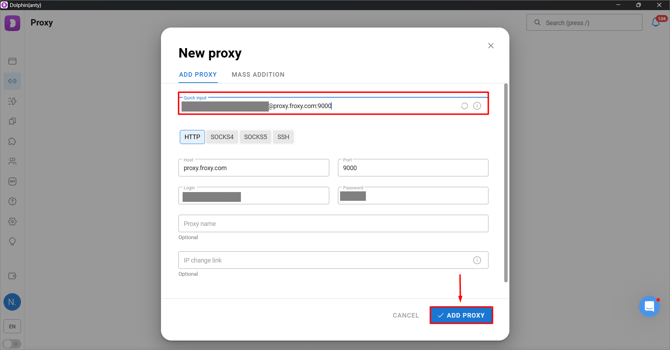
- If the proxies were added successfully, you will see the following:
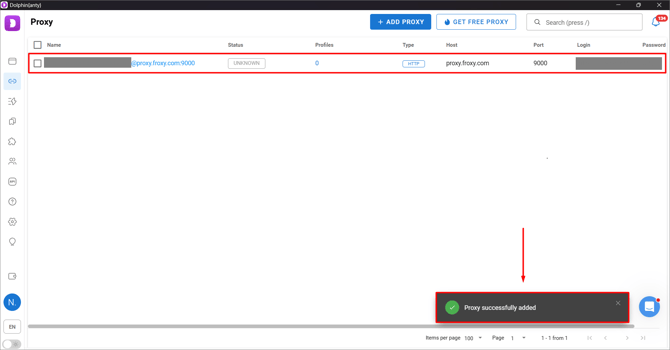
- Return to the Browser Profiles tab and click the CREATE PROFILE button.
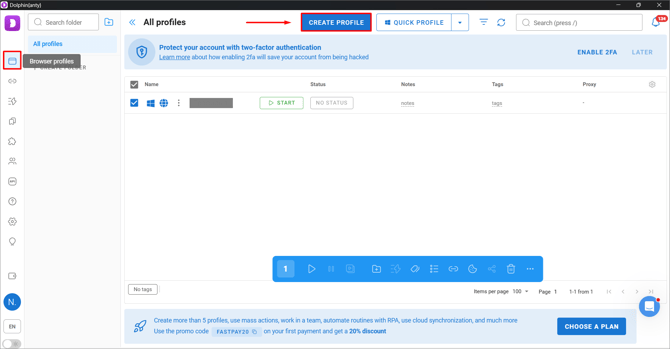
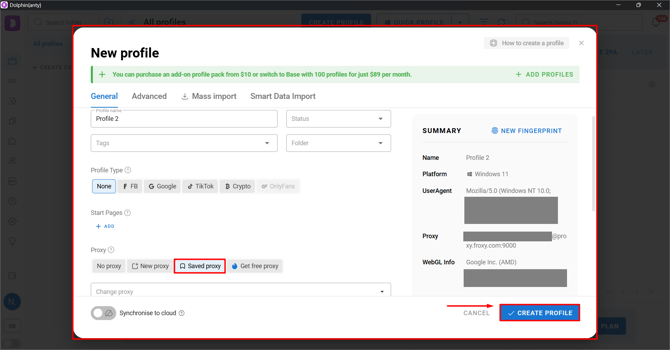
- In the window that opens, configure the necessary settings, including the proxy selection as shown in the screenshot, and click CREATE PROFILE.
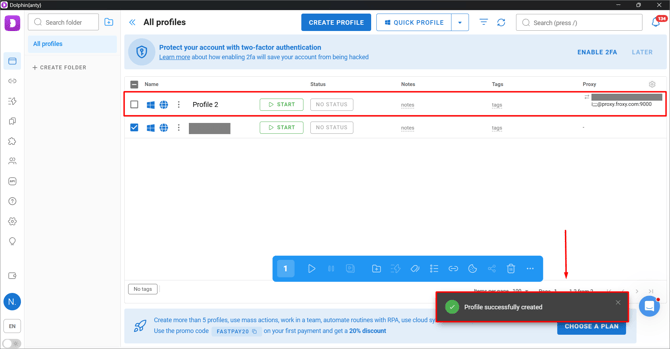
- You can now use Froxy proxies with Dolphin{anty} by clicking the "START" button next to the created profile!
If you still have any questions about the operation of our service froxy.com, you can ask them in the online chat in the lower right corner of the site or contact support at support@froxy.com.
See also: Incogniton, Nstbrowser.