![froxy-logo.svg]](https://help.froxy.com/hubfs/froxy-logo.svg)
Incogniton is an anti-detect browser designed to create and manage multiple browser profiles with separate digital fingerprints. By connecting Froxy proxies to Incogniton, you can assign a different IP address to each profile and manage multiple online sessions more efficiently. This guide explains how to configure a Froxy proxy in Incogniton and verify that the connection works correctly.
To set up Froxy proxy for use with Incogniton, follow these steps:
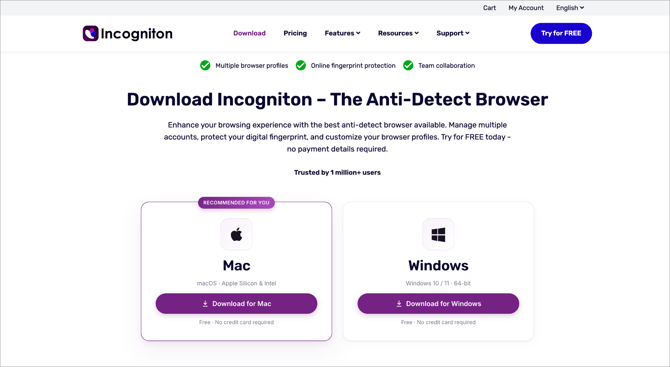
- Before you begin, ensure that you have the latest version of Incogniton installed. Download the current version of Incogniton from their website.
- Open the Incogniton application.
- Choose Profiles → All Profiles → New profile or +Create profile:
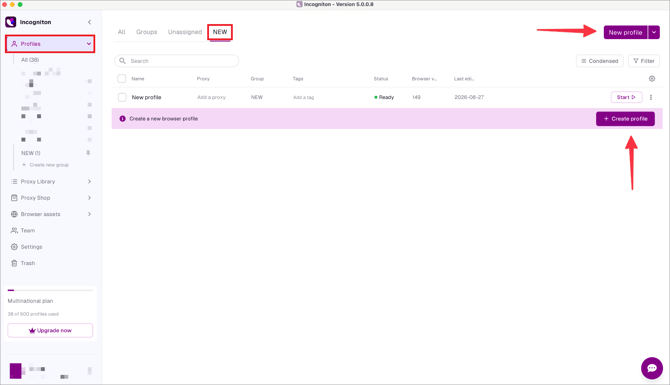
- When creating a new profile, open the Proxy tab.
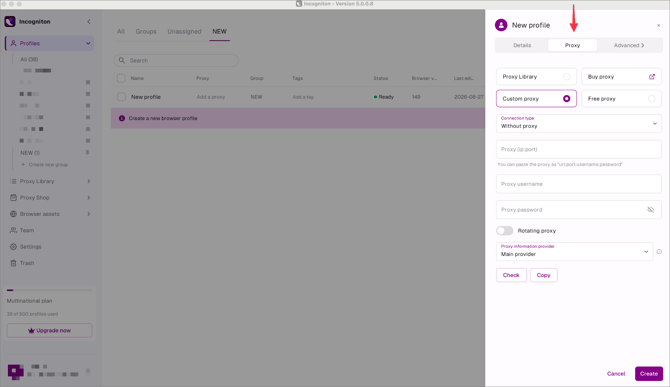
- Copy all the required information from the Froxy dashboard and enter it into the corresponding fields in your new Incogniton profile.
You can also test the connection here by clicking the Check button. If everything works successfully, click Save.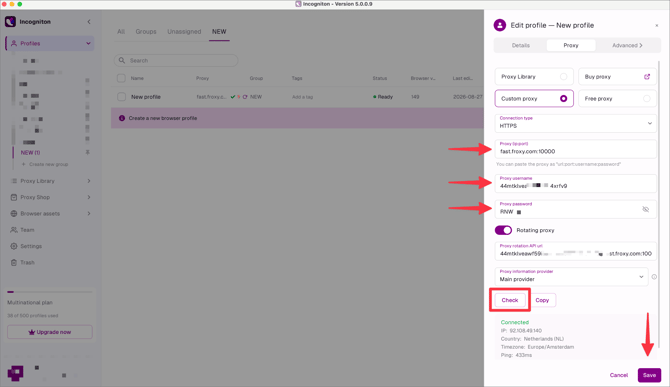
- After saving, the new profile will appear in the list. A green checkmark next to the Proxy details indicates that the proxy is working correctly. You can then launch the profile and start working. To do this, click the Start button.
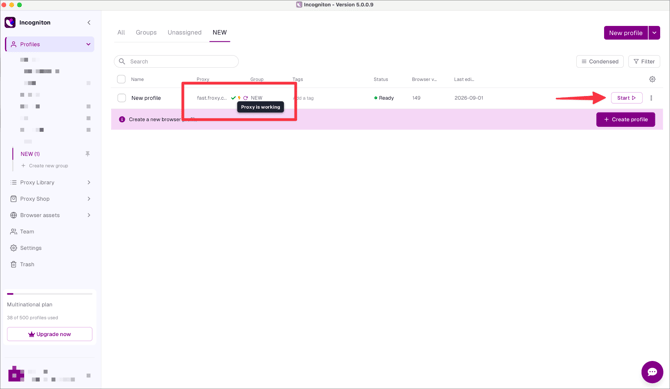
- Once the profile is launched, you can check its IP address to make sure everything is working correctly.
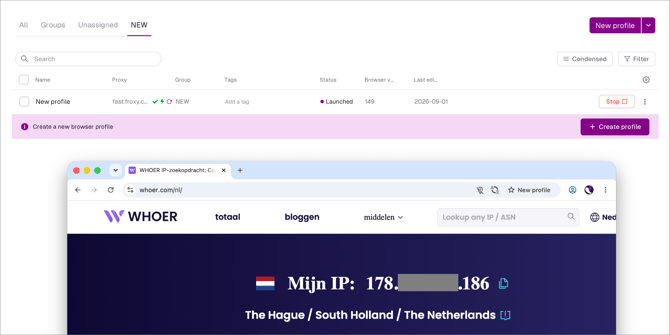
- Now you can use Froxy proxies with Incogniton!
If you still have any questions about the operation of our service froxy.com, you can ask them in the online chat in the lower right corner of the site or contact support at support@froxy.com.